One More Lawn Tier List: Tools, Jobs and Mower Setups
An honest One More Lawn tier list for jobs, tools and mowing techniques, with the reasoning behind every placement and no invented mower models.
Most tier lists for this game would be fiction. There is one mower, no unlock tree and no weapon inventory. What you can rank honestly are the four jobs, the hand tools and the techniques that decide whether a lawn looks finished. This list does that, explains the criteria, and leaves the imaginary mower models out.
How this list is ranked
The categories are usefulness, not coolness. A tool gets a high tier if it solves a problem the mower cannot solve. A job gets a high tier if it teaches a mechanic you will reuse and stays fun after the first pass. A technique gets a high tier if it saves time without creating rework.
Difficulty is not the same as quality. A hard job can be excellent. A easy job can be forgettable. I have noted both where they diverge.
Official source: One More Lawn store page ↗ - the four jobs and the confirmed tool set are described on the Steam listing.
Job tier list
| Tier | Job | Difficulty | Why it lands here |
|---|---|---|---|
| S | Marcela's island wedding | High | Combines ferry logistics, water hazards, a huge venue and a crowd |
| S | Los Teros golf course | High | Three cutting heights, bunkers, ponds and driving |
| A | Elvira's backyard | Medium | The best pure mowing test in the game |
| C | Front yard | Low | Necessary tutorial, little replay value |
S: Marcela's island wedding
The island job is the one that changes the shape of the game. You have to move the mower by ferry, deal with water that stalls the engine, and prepare a venue for 120 barefoot guests. Those constraints overlap: the ferry limits how much you can bring at once, the water limits where you can drive, and the crowd means the finish has to be clean rather than merely cut.
It is also the job with the most room for comedy. The official description mentions boats, fishing rods, hammocks, coconuts and a beach bar. That suggests the island is not only a mowing map but a small sandbox. We cannot verify the full layout before launch, so treat the S placement as a prediction based on the confirmed mechanics.
S: Los Teros golf course
The golf course earns its place for one reason: height. Greens, fairways and tees are cut at different levels, and the mower has to move between them without scalping the wrong surface. Add bunkers that need raking, ponds that eat balls, and a mower that can drift, and you have the most technical yard in the game.
The golf club and fishing rod are not jokes. They are recovery tools. A ball in a pond is a job for the rod, and a ball on the green is a job for the club. The golf course guide→ covers the loop in detail.
A: Elvira's backyard
Elvira's job is the best tutorial in the game because it is not labelled as one. The 5 cm requirement forces you to pay attention to deck height. The gnomes force you to steer carefully. The receipt at the end gives you a grade that is funny and specific.
It lands in A rather than S because it is a single lawn with a single rule. Once you have learned the rule, replay value is limited. That is fine. Not every job needs to be a sandbox. Our Elvira guide→ explains the gnome rules and the receipt.
C: Front yard
The front yard is a tutorial. It has to exist, and it does its job. It is not a place you will return to for fun. Ranking it low is not a criticism of the design; it is a statement about replay value.
Tool tier list
| Tier | Tool | Best use | Limitation |
|---|---|---|---|
| S | Riding mower | Everything bulk-related | Cannot reach edges or cross deep water |
| S | String trimmer | Fences, trees, tight corners | Slow, and easy to overuse |
| A | Fuel can | Keeping a large job moving | Requires a trip back to the mower |
| A | Boat | Island transport | Only useful on the island |
| B | Rake | Bunkers and loose sand | Narrow job, easy to forget |
| B | Golf club | Green work and ball recovery | Context-specific |
| C | Fishing rod | Pond recovery and downtime | Rarely the fastest solution |
Why the trimmer is S
The mower is the star, but the trimmer is what makes a lawn look finished. Every fence line, tree trunk and garden bed creates a strip the deck cannot reach. If you skip those strips, the job looks 90% done, and the last 10% is the part players notice.
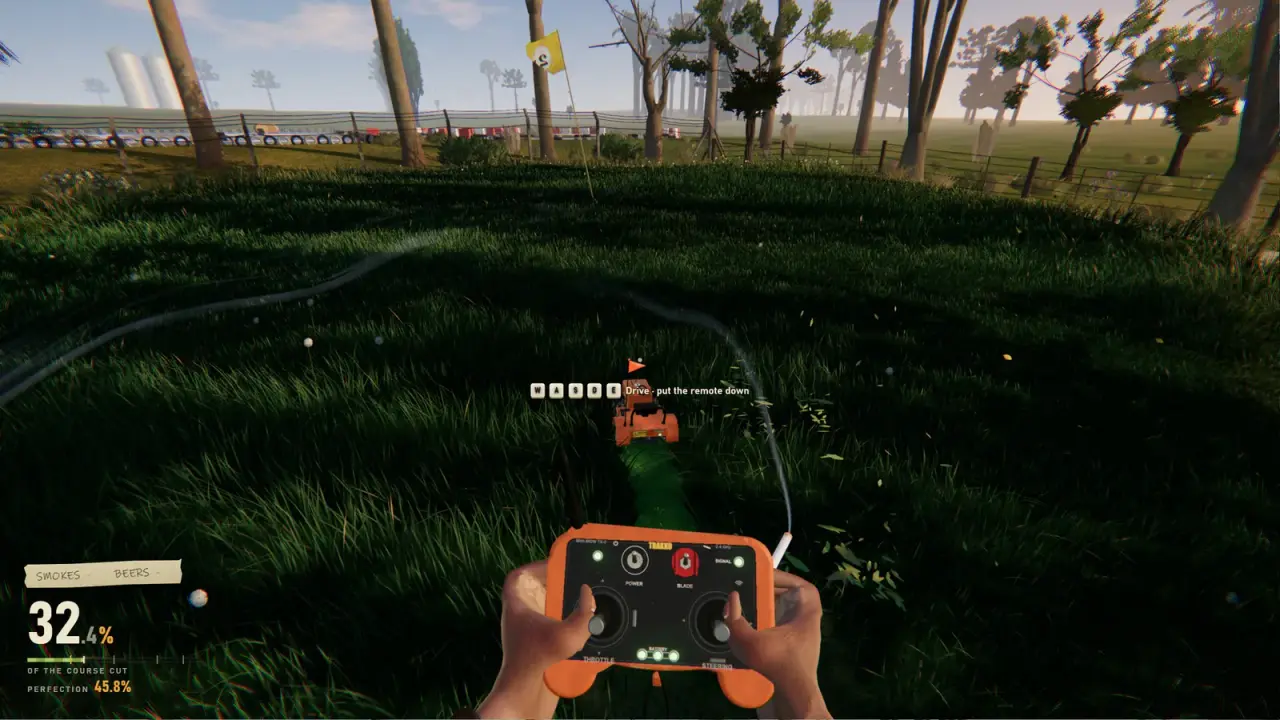
The trimmer is also the easiest tool to overuse. It is slow compared with the mower, and it is tempting to trim a wide area instead of cutting it properly. The rule I use: mower first, trimmer only where the deck physically cannot go.
Why the boat is only A
The boat is essential on the island and useless everywhere else. That is the definition of a situational tool. It gets an A rather than an S because tiers reward general usefulness, and a tool that only works on one map cannot be in the same class as the mower.
Why the fishing rod is C
The rod is charming. It is not efficient. If a ball is in a pond, the rod retrieves it, but the golf club can often solve the same problem from the bank. The rod is what you use when you have decided to stop optimising and enjoy the afternoon. That is a valid way to play, just not a high tier.
Technique tier list
These are the habits that separate a clean job from a messy one. None of them are menu options. All of them are things you can practise in the demo.
| Tier | Technique | Effect |
|---|---|---|
| S | Perimeter pass first | Clean boundary, fewer missed strips, easier turns |
| S | Set deck height before moving | Avoids a full recut at the wrong height |
| A | Long straight stripes | Faster coverage and a better finish |
| A | Trim as you go | Prevents a second lap around the whole property |
| B | Drifting the mower | Fun, occasionally faster, risky near edges |
| C | Chasing the completion meter | Usually means you missed an edge, not the middle |
The perimeter pass
Drive the outer boundary before you cut the interior. You get a clean edge, a clear turning lane and an early view of every obstacle. On Elvira's lawn, the perimeter pass also reveals the gnome positions before you are moving at speed.
Deck height discipline
Set the height once, at the start, and check it after any menu or vehicle transition. A deck that has drifted up leaves a strip of uncut grass that is easy to miss until the receipt. On the golf course, the wrong height can scalp a green.
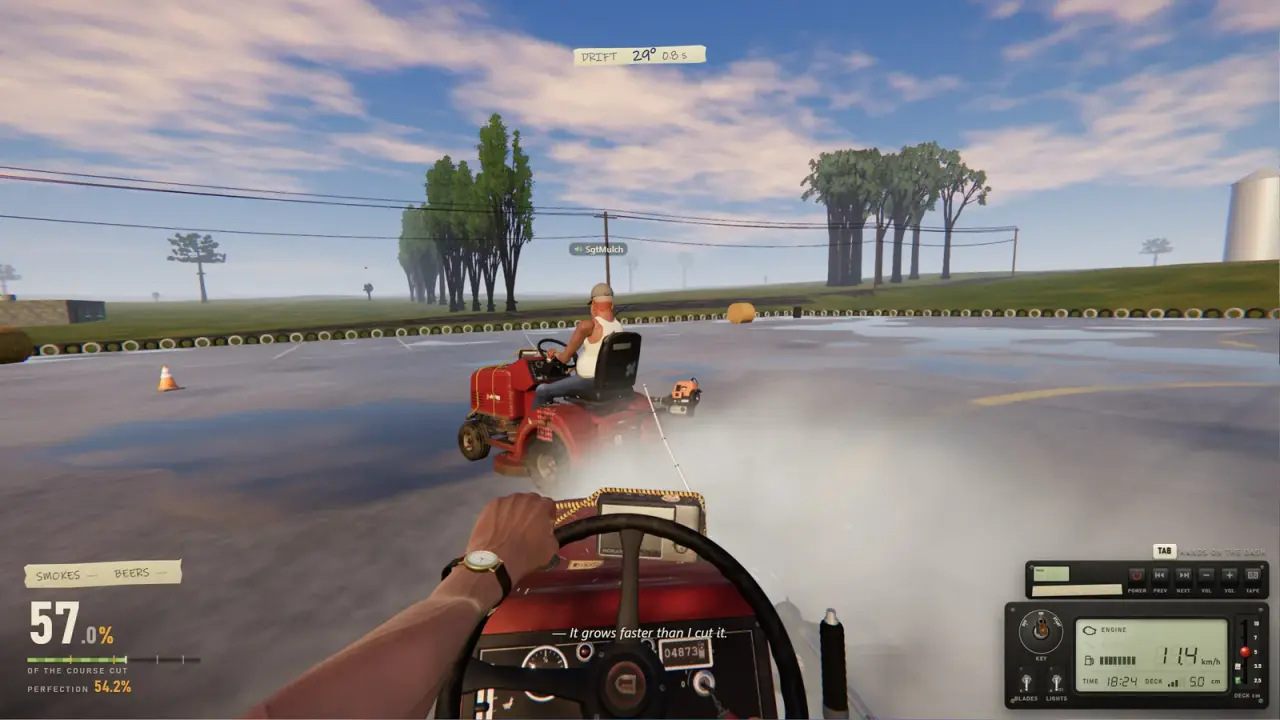
The mower can drift, and it looks great in a clip. It is also the fastest way to clip a fence, scatter a gnome or end up in a pond. Use it on open fairways, not between decorations.
What is not on this list
There is no mower tier list because there is only one mower. There are no character tiers because there are no playable characters with different stats. There are no weapon tiers because the game has no combat. If you see a list that ranks "mower models" or "characters", it is invented.
The full game may add cosmetics or editor-created maps that change how a yard plays. That is not the same as a roster of vehicles. Our best mower page→ explains what actually changes the feel of the machine: deck height, route, controller and wheel setup.
FAQ
Is there more than one mower in One More Lawn?
No. You drive one riding mower. The differences you feel come from deck height, attachments and how you drive it.
Which job is the hardest?
The island wedding looks like the most demanding job because it combines transport, water and a large venue. The golf course is the most technical. We will update this after launch.
Is the trimmer better than the mower?
No. The mower does the bulk of the work. The trimmer finishes edges the mower cannot reach.
Can you upgrade the mower?
No upgrade system has been announced. Do not expect a progression tree.
Is the front yard worth replaying?
Not really. It is a tutorial. The replay value is in Elvira's backyard, the golf course and the island.
Sources
- One More Lawn store page ↗ - job descriptions and confirmed tools.
- One More Lawn demo ↗ - playable scope used for the Elvira ranking.
- Steam community discussions ↗ - player feedback on the demo loop.
- PlayInsider preview ↗ - full-game feature recap.